Note
CuraMedix is completely free to download. Visit the official theme page to get the latest version: CuraMedix
01 — Overview
Introduction
Item Name: CuraMedix – Healthcare WordPress Theme
Created: December 2025
Item Version: V1.2.1
Author: Muhammad Tarek Reza
02 — Setup
Requirements
You need at least WordPress version 6.4+ installed for this theme to work properly. It is strongly recommended that you always use the latest stable version of WordPress to ensure all known bugs and security issues are fixed.
Recommended PHP configuration limits
max_execution_time 600
memory_limit 512M
post_max_size 512M
upload_max_filesize 500M
max_input_time = 600
max_input_vars = 1000
03 — Setup
Video Tutorial
If you prefer video instructions, you can watch the video tutorial below:
Video tutorial covering the installation and setup of CuraMedix WordPress theme.
04 — Setup
Installation
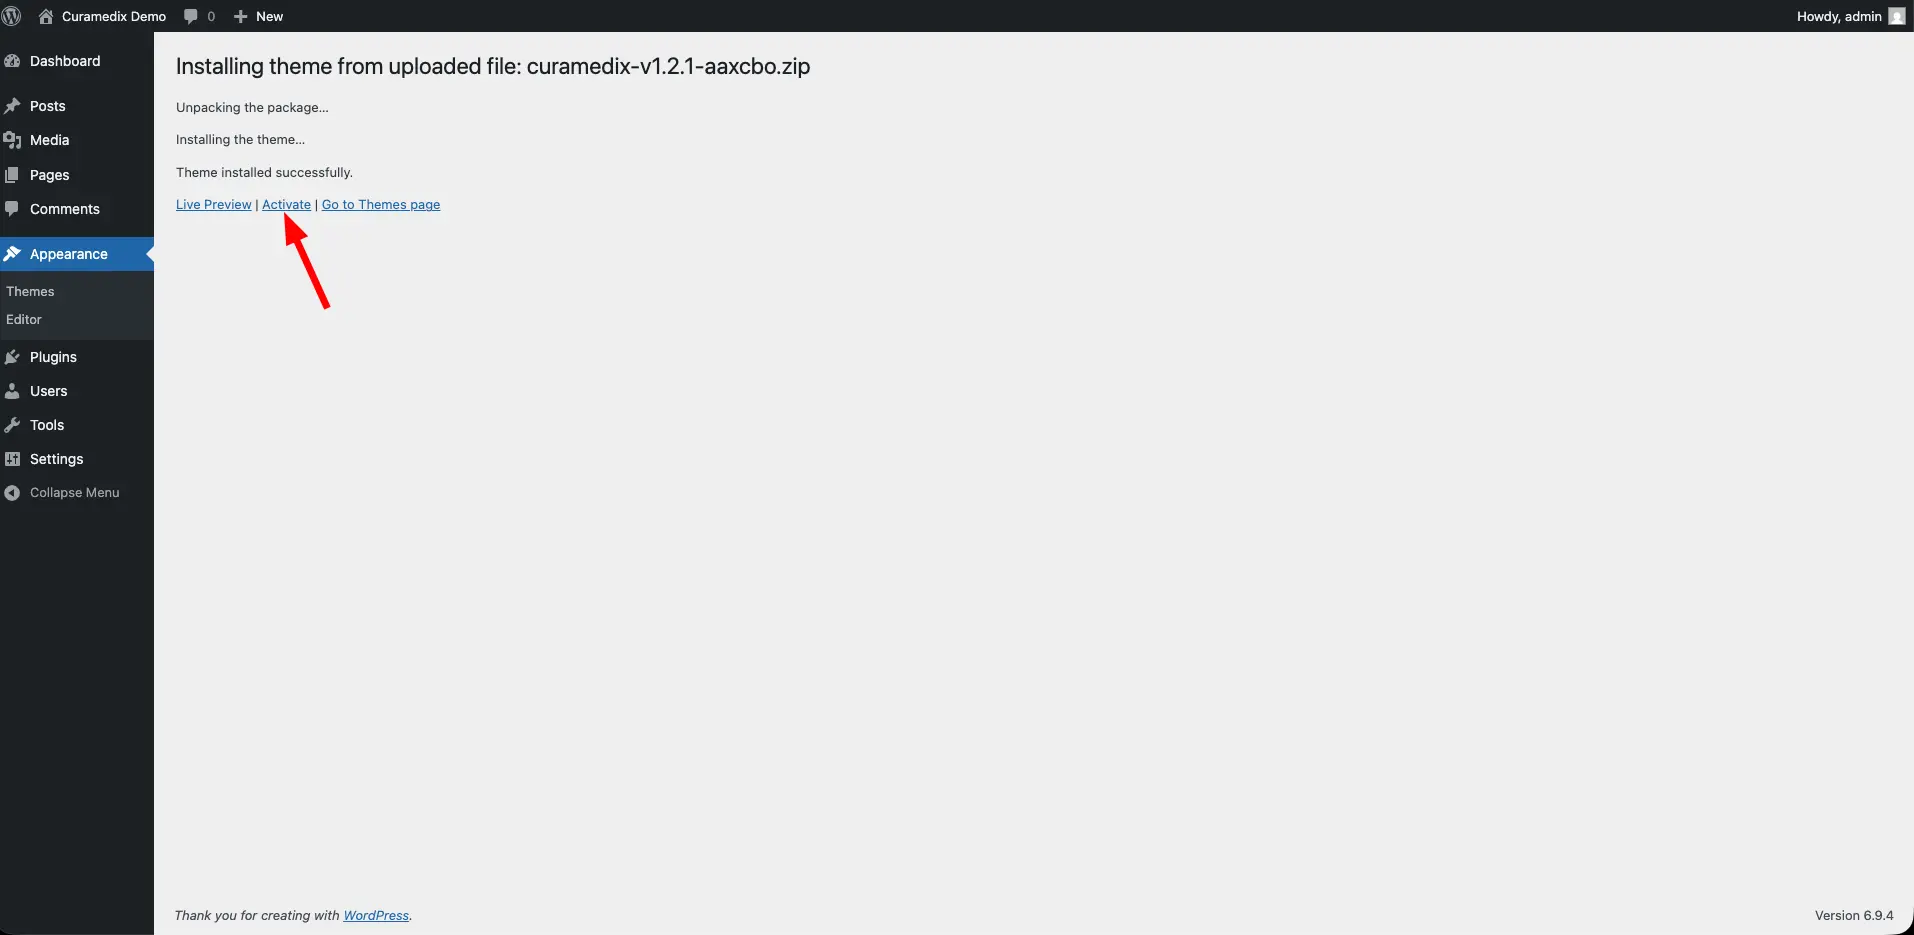
After downloading the theme, you can install it by following these steps:
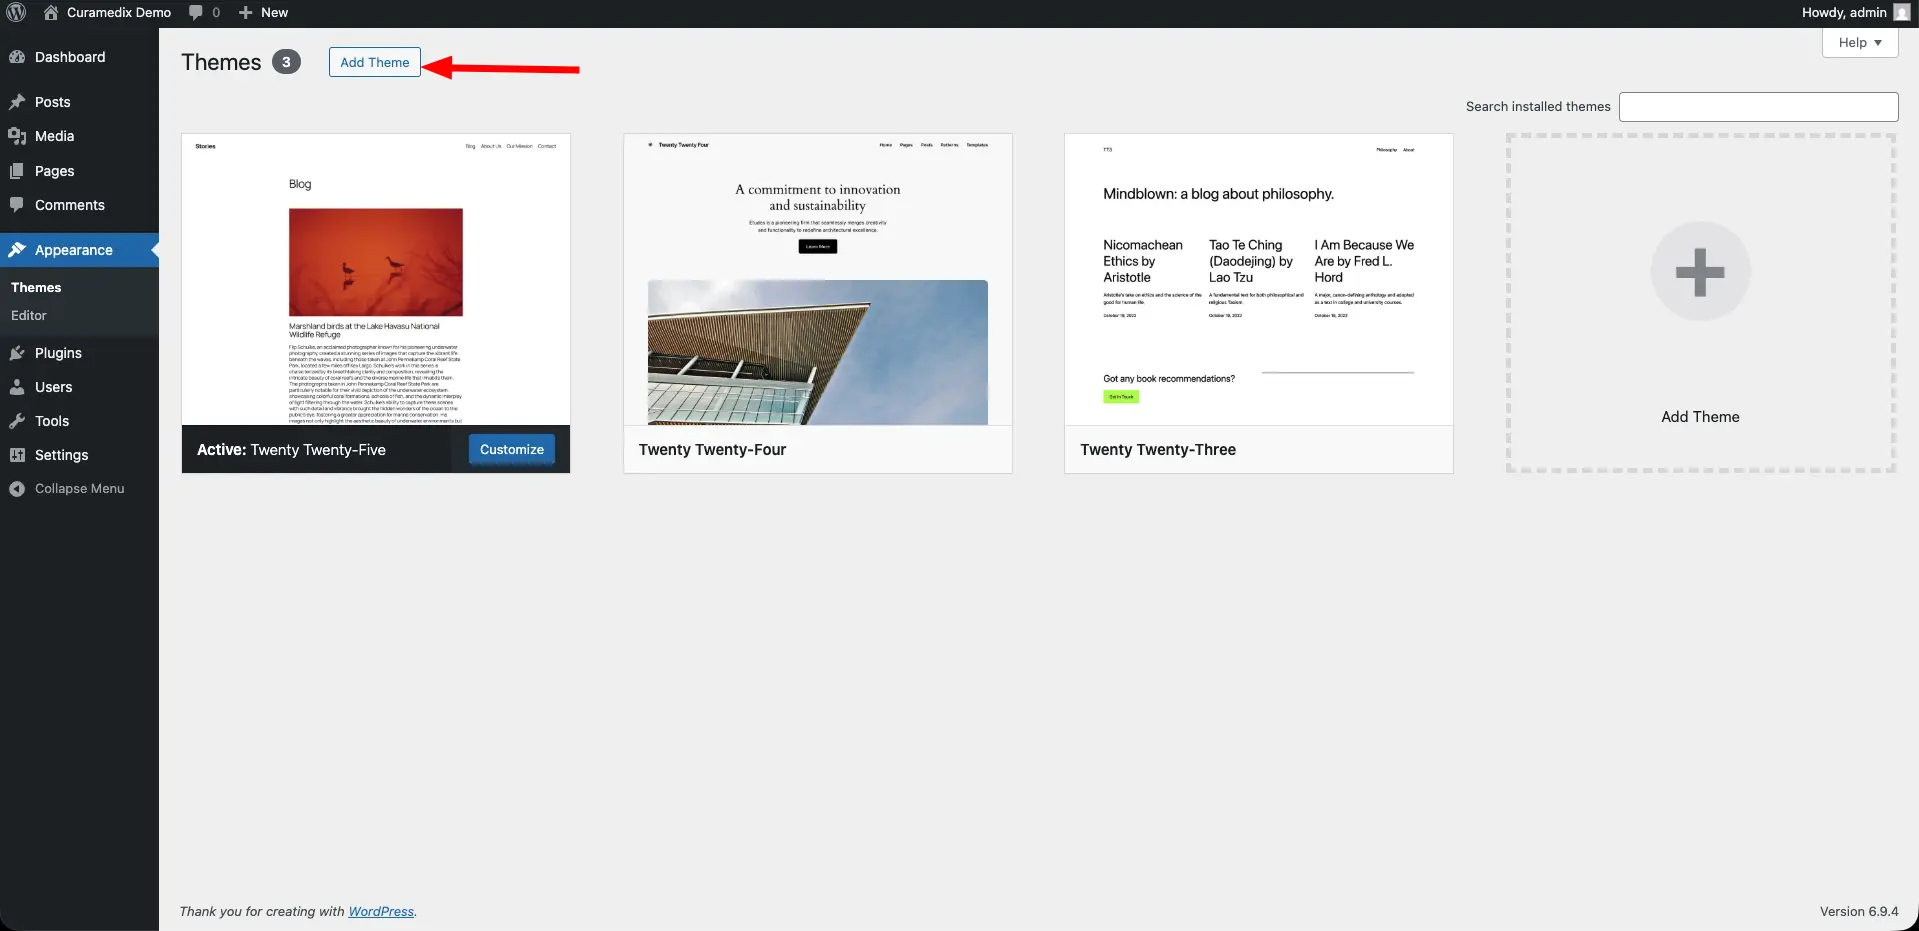
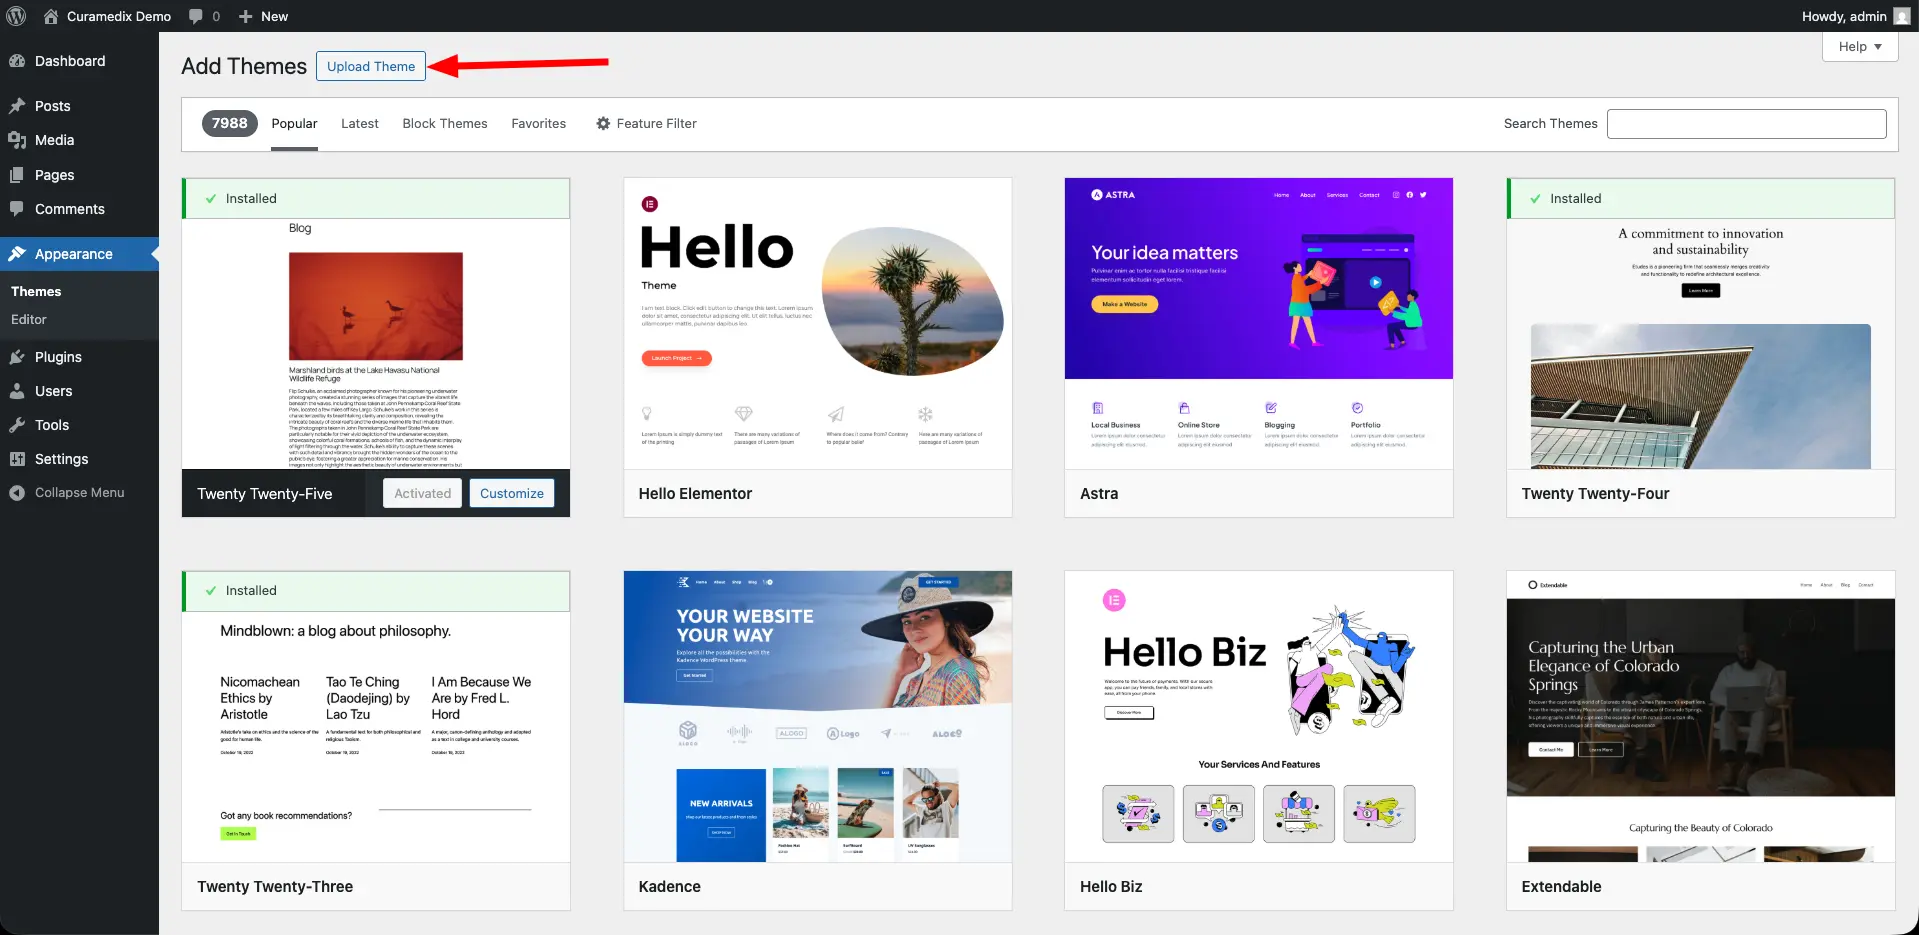
- Go to your WordPress admin dashboard and navigate to Appearance → Themes.
- Click on the "Add New" button and then select "Upload Theme".
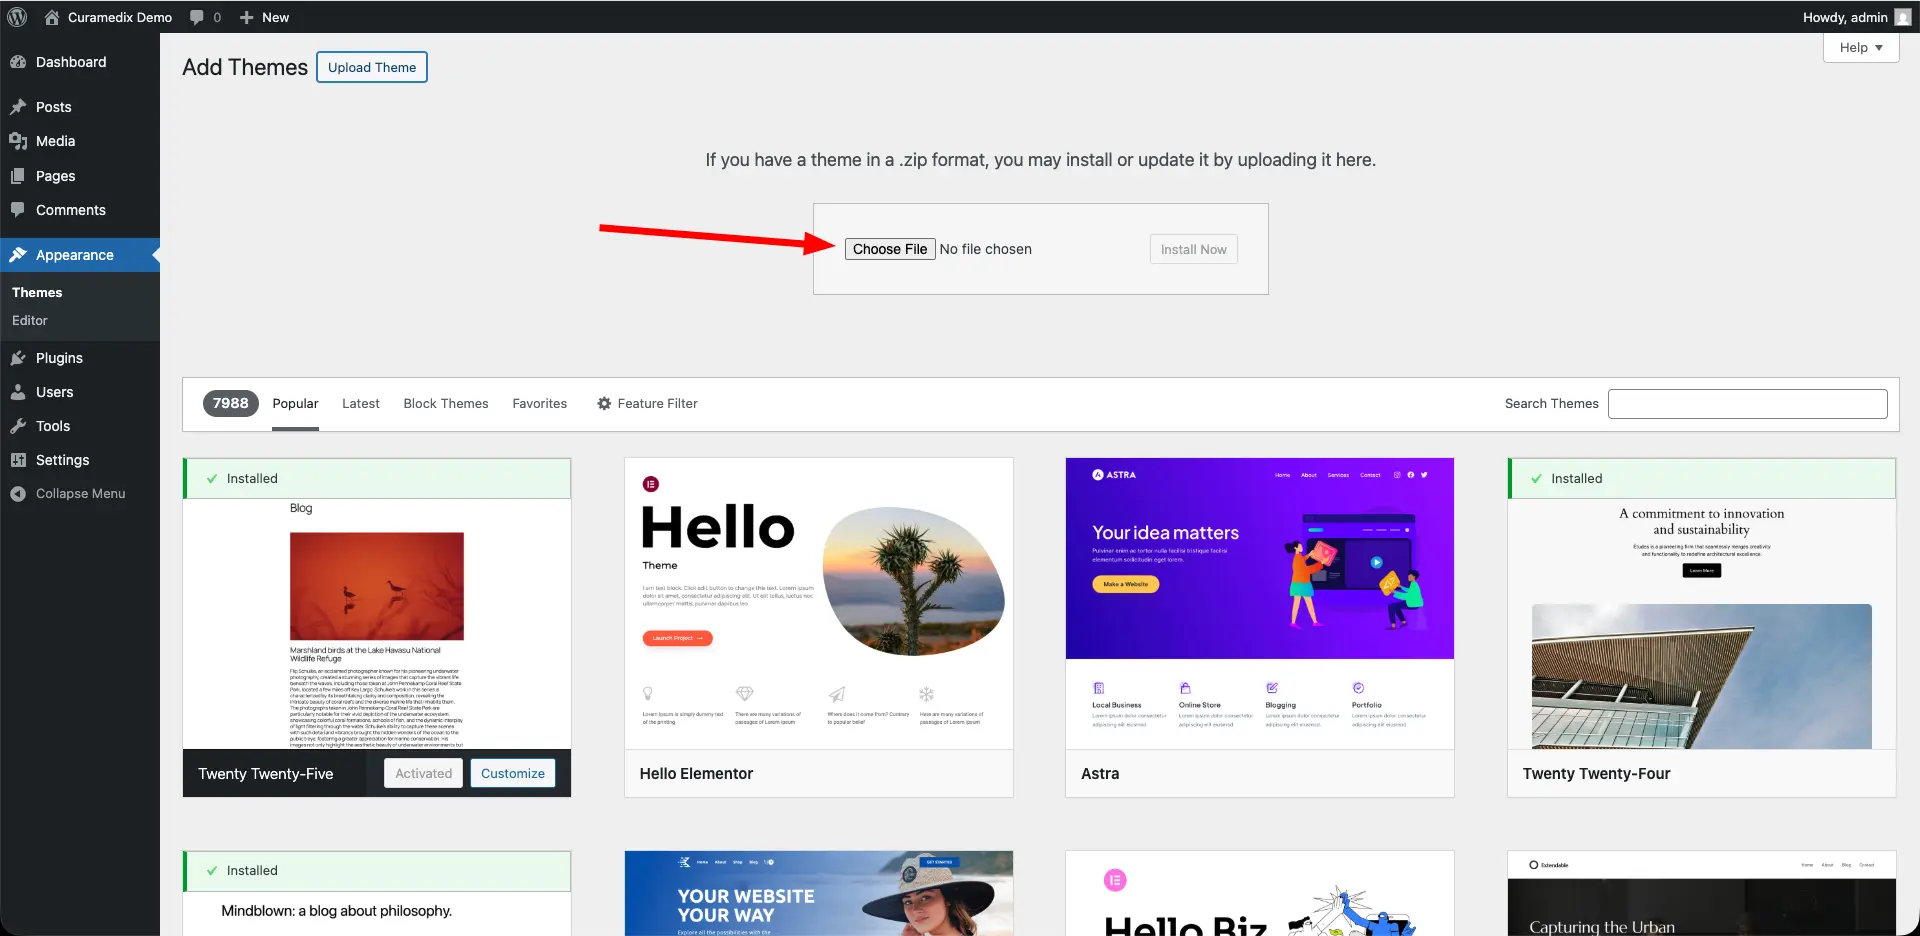
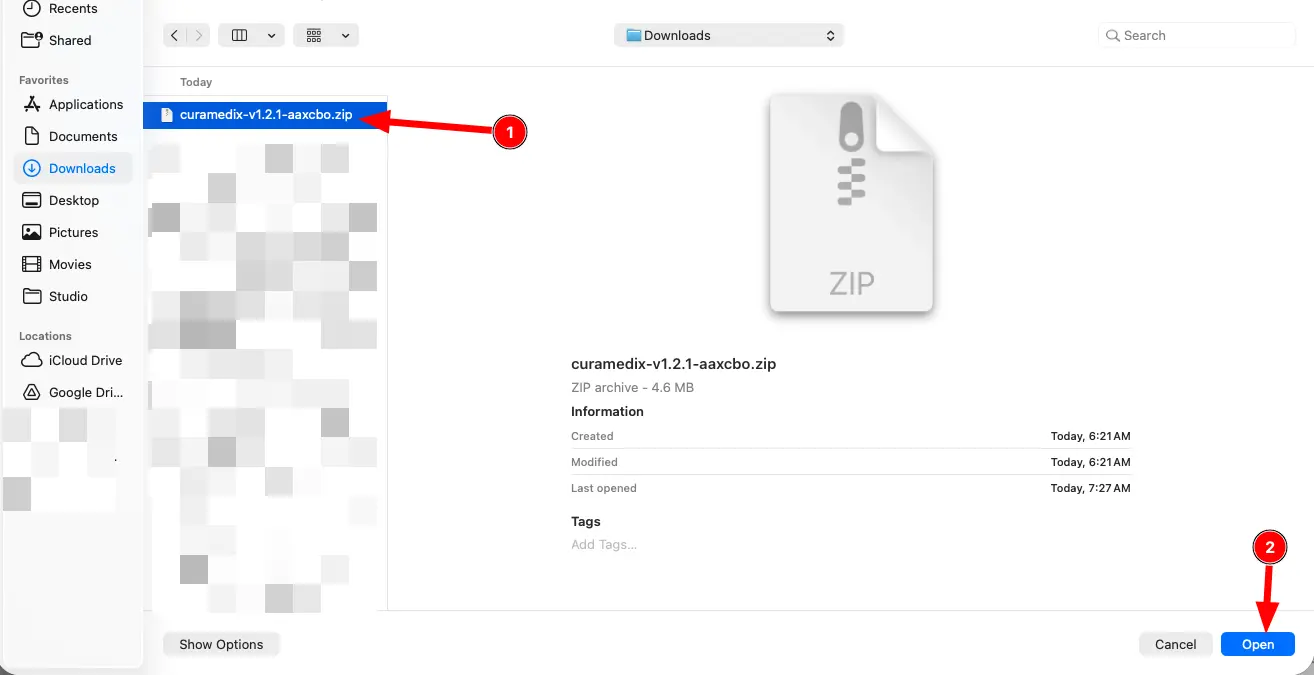
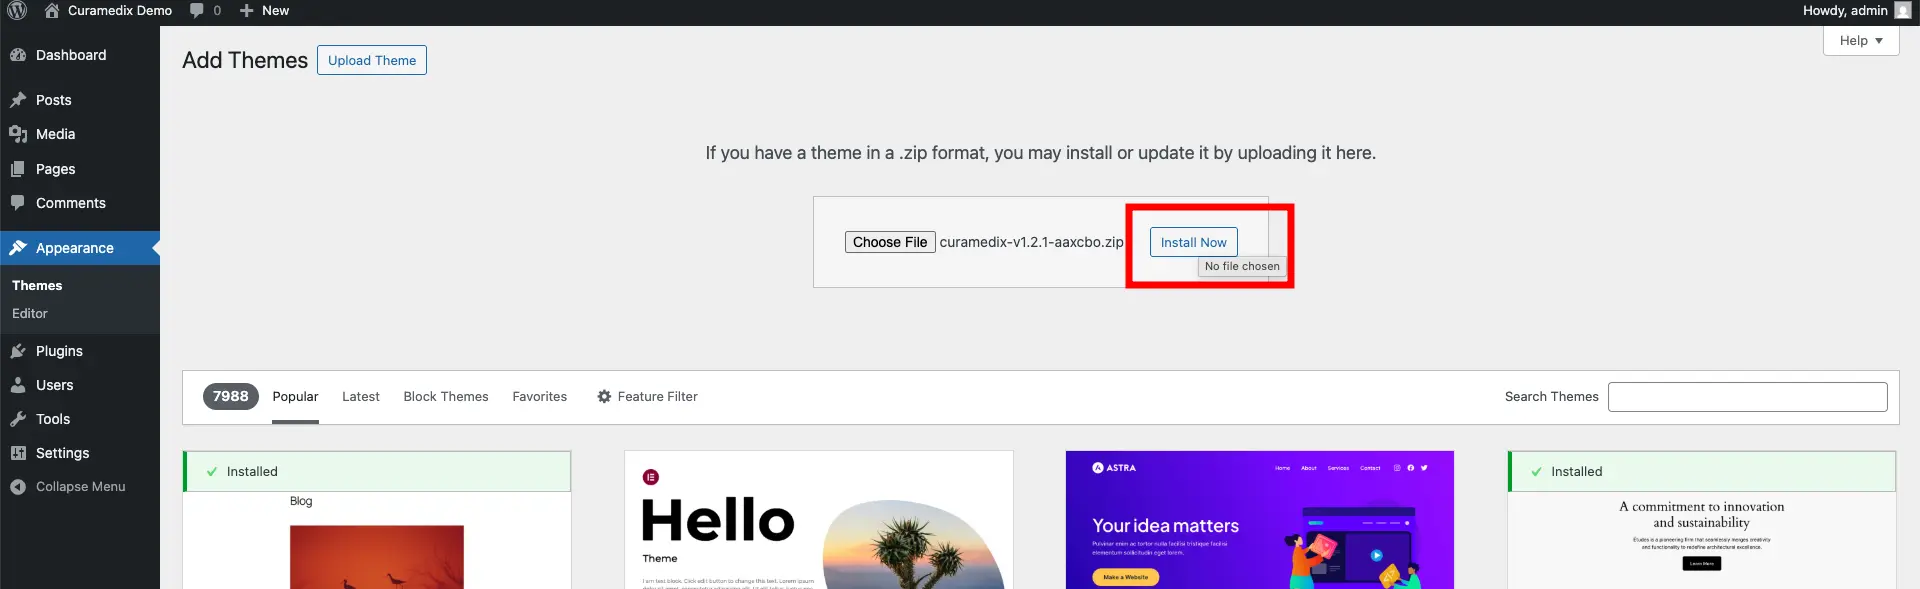
- Choose the downloaded theme ZIP file and click "Install Now".
- Once the installation is complete, click "Activate" to start using the theme.

05 — Setup
Required plugins
To ensure the full functionality of the CuraMedix theme, you need to install and activate the following plugins:
- Elementor
- ElementsKit Lite
- Fluent Form
- Kirki Customizer Framework
- One Click Demo Import
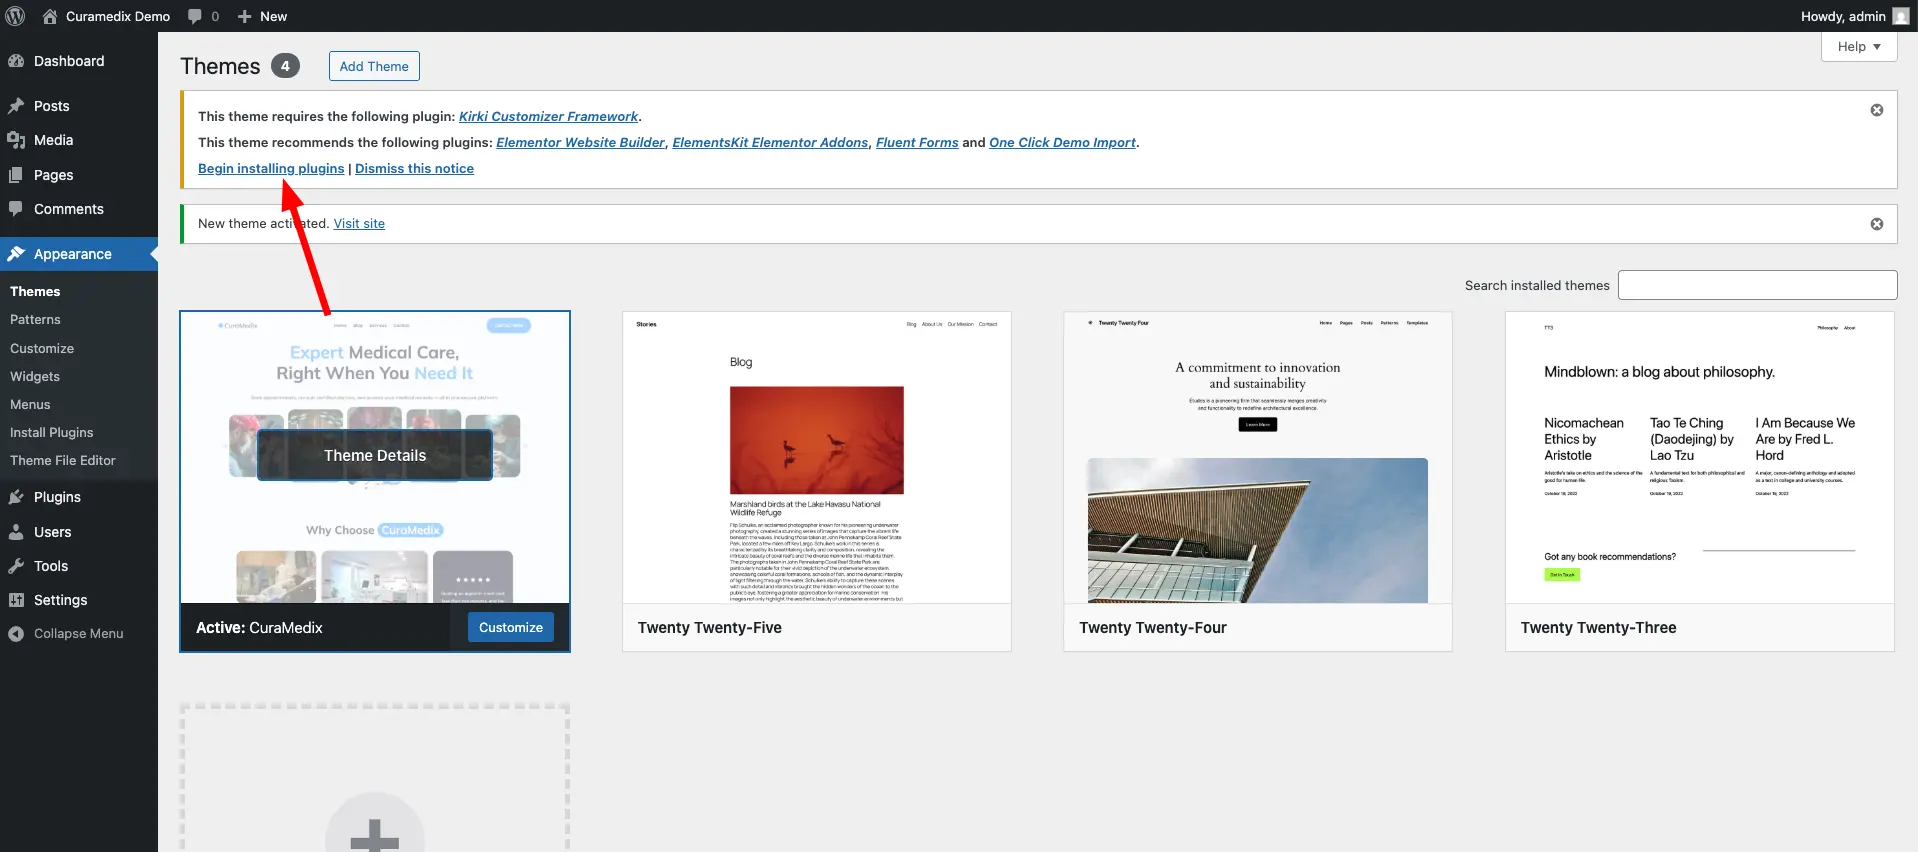
You don't have to install these plugins manually one by one. The theme will guide you through the process to speed up the installation.
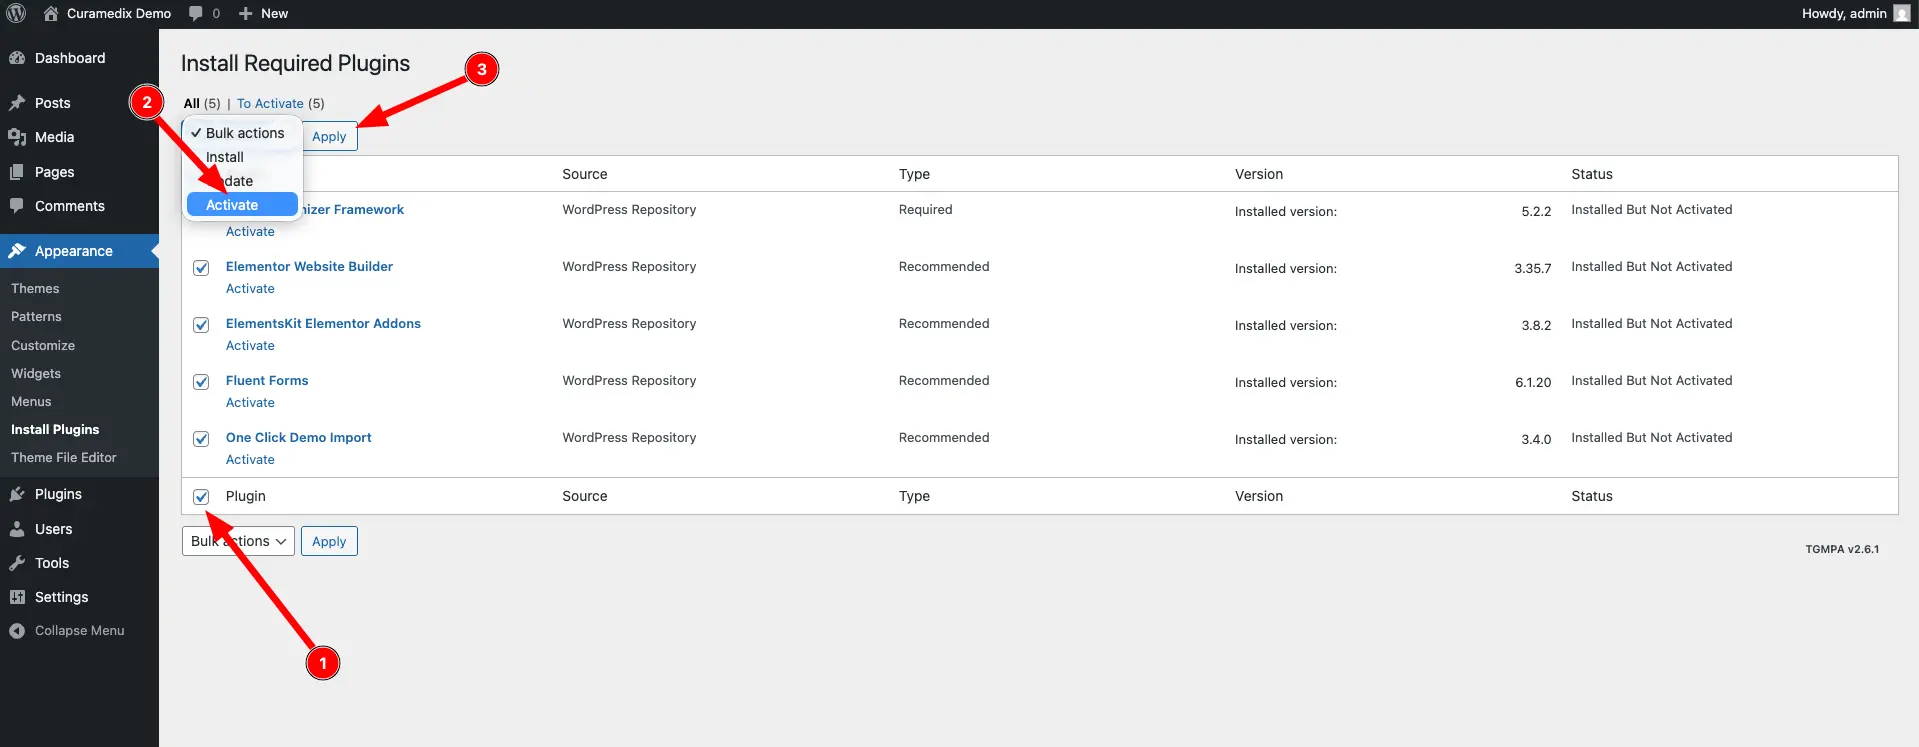
- After activating the theme, you will see a notice at the top of your dashboard prompting you to install the required plugins. Click on "Begin installing plugins".
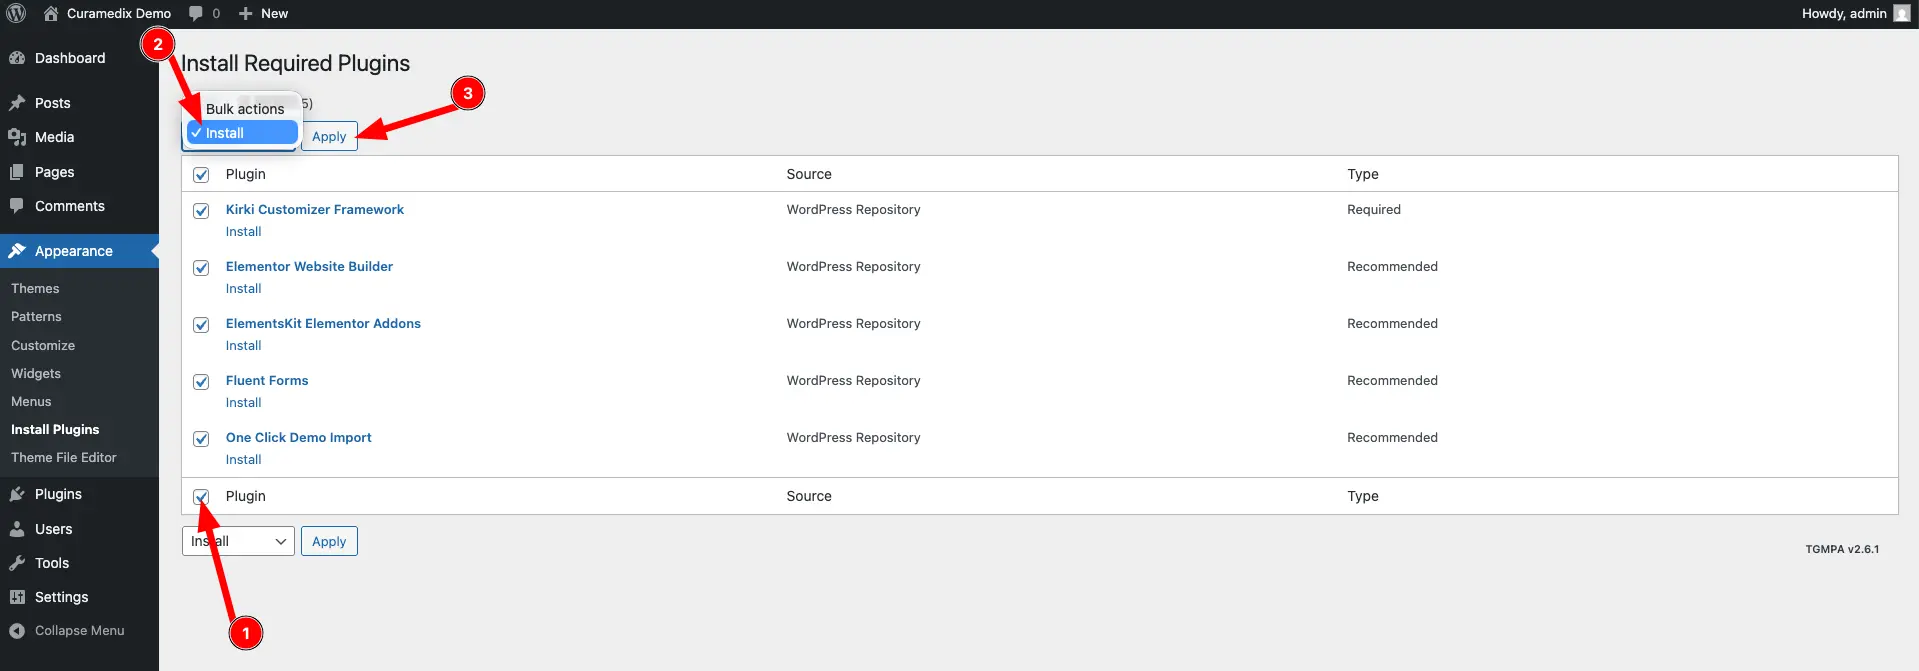
- Select all the plugins from the list and choose "Install" from the bulk actions dropdown, then click "Apply".
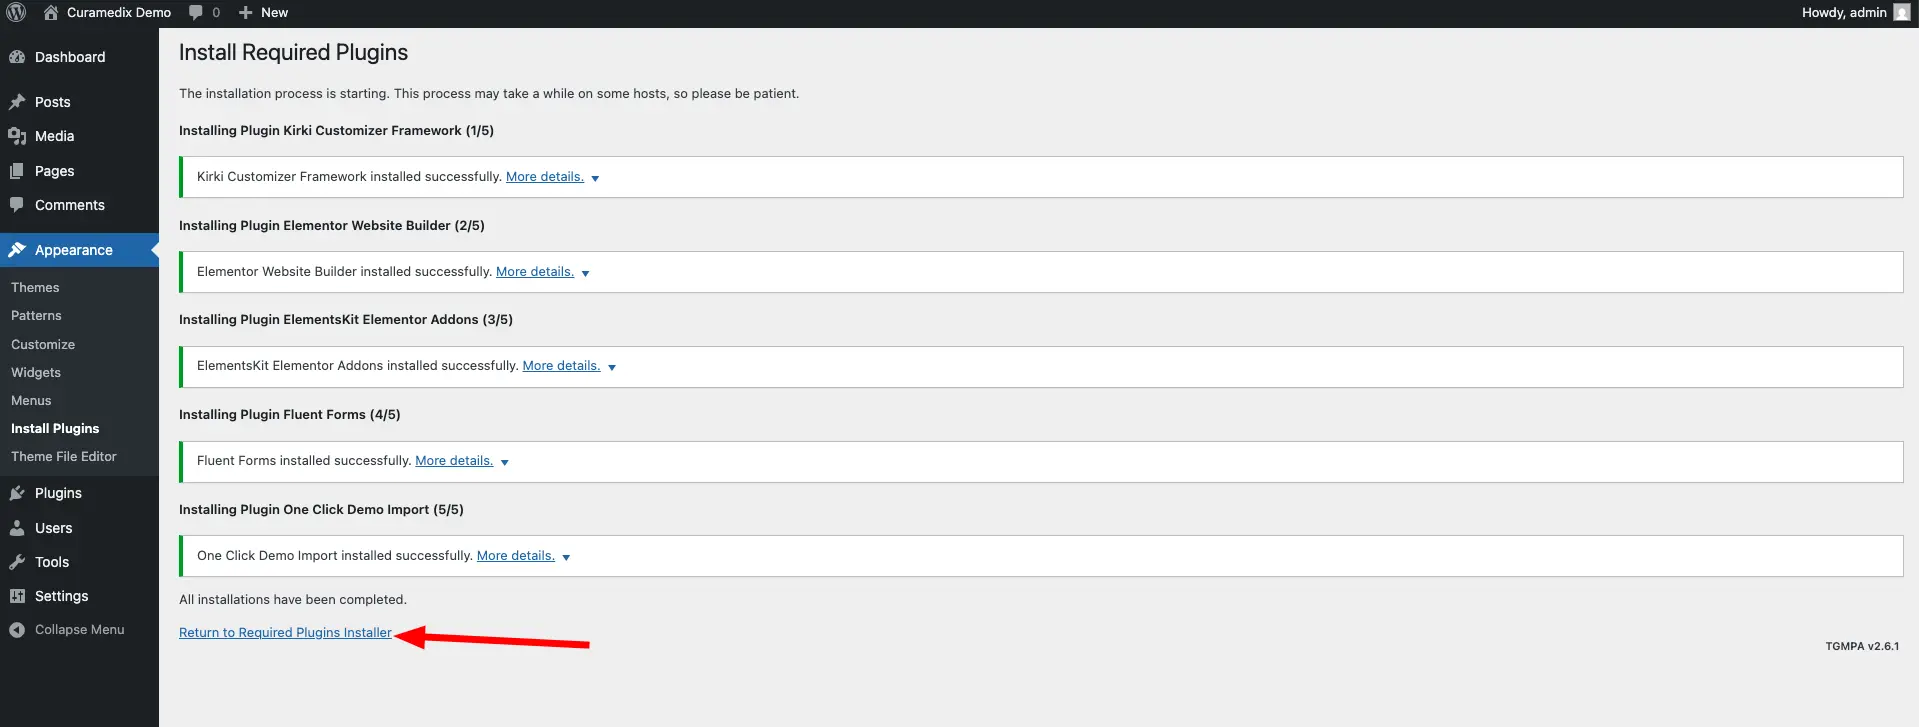
- Once the plugins are installed, click "Activate" to activate them.
06 — Setup
Import demo content
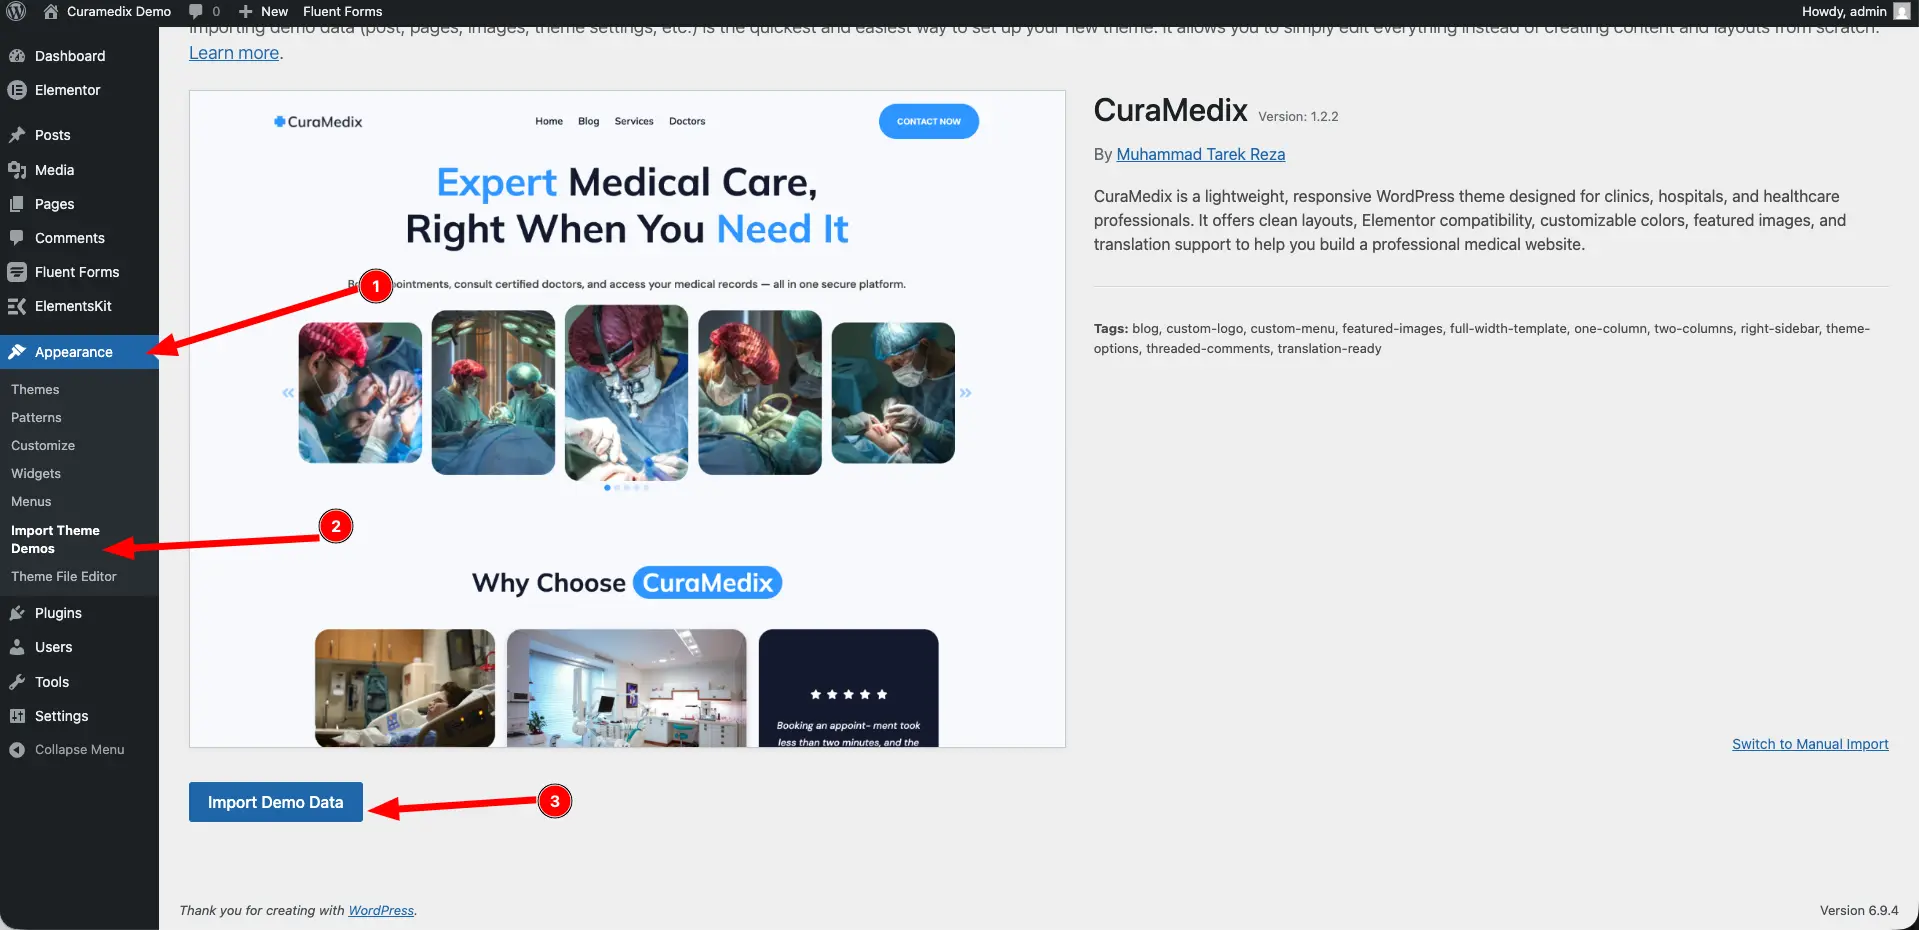
- Go to Appearance → Import Theme Demos in your WordPress dashboard. You will see a list of available demo content.
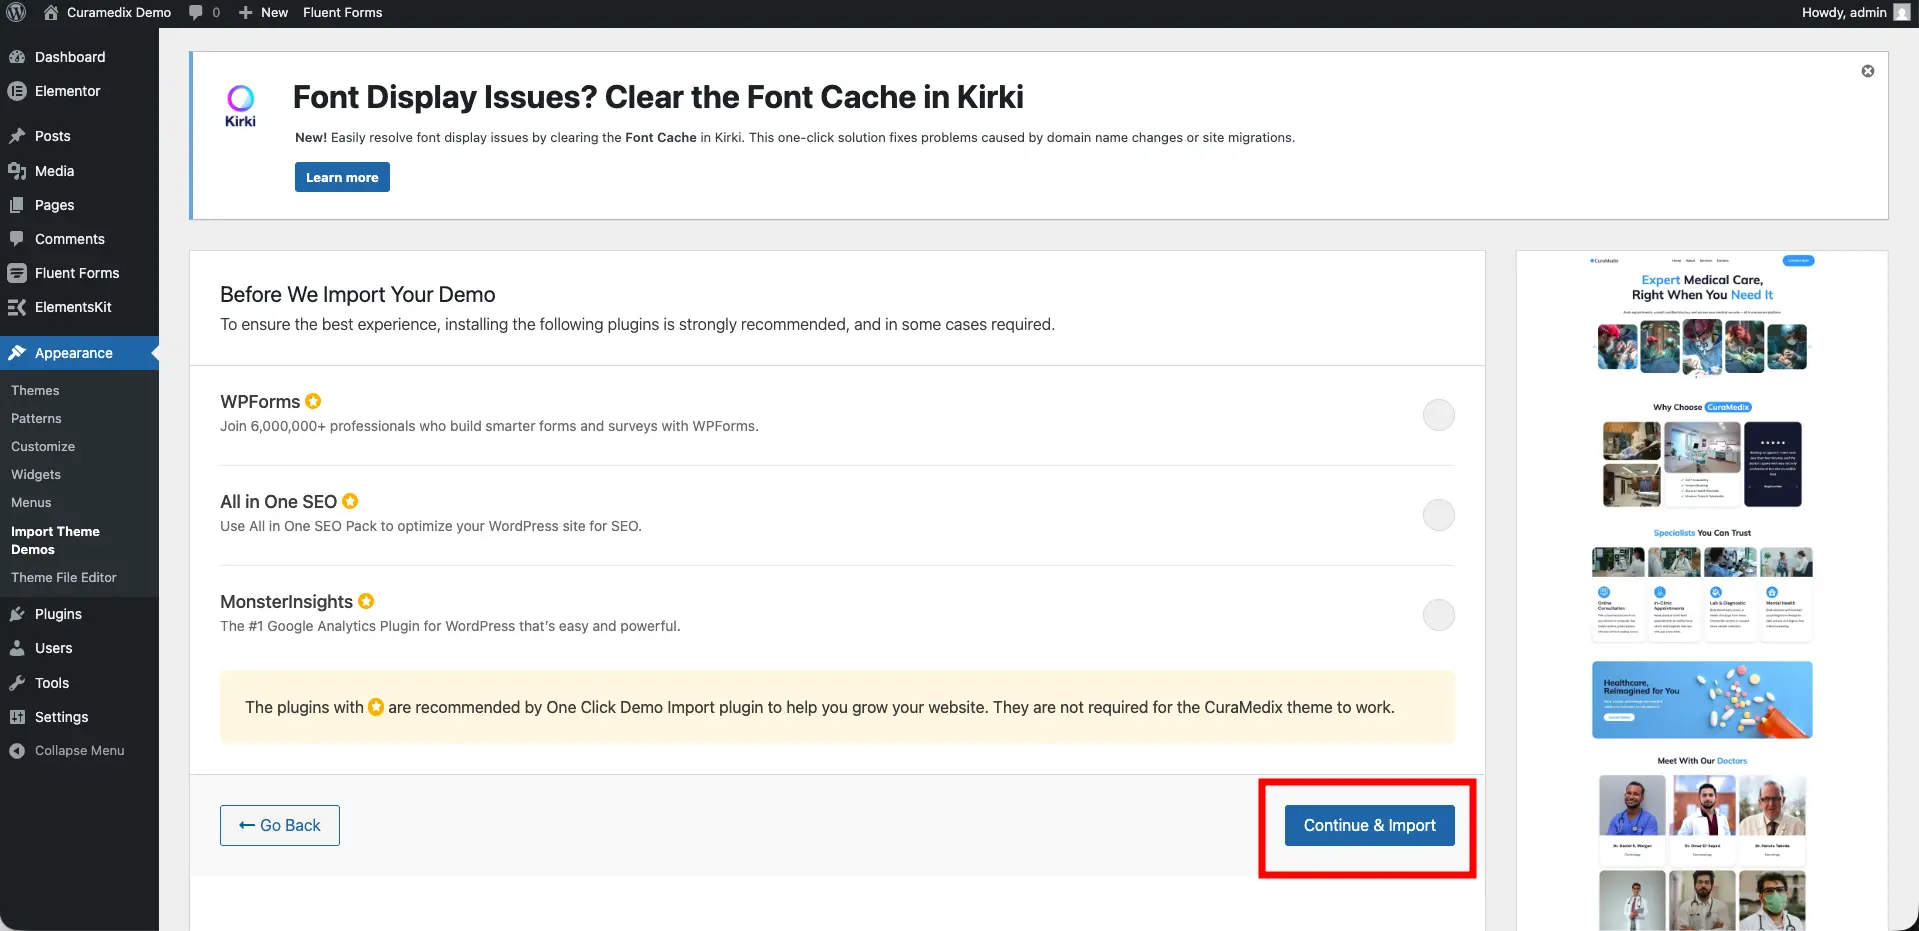
- After that click on "Continue & Import" to start the import process. This will import all the demo content, including pages, posts, images, and theme settings.
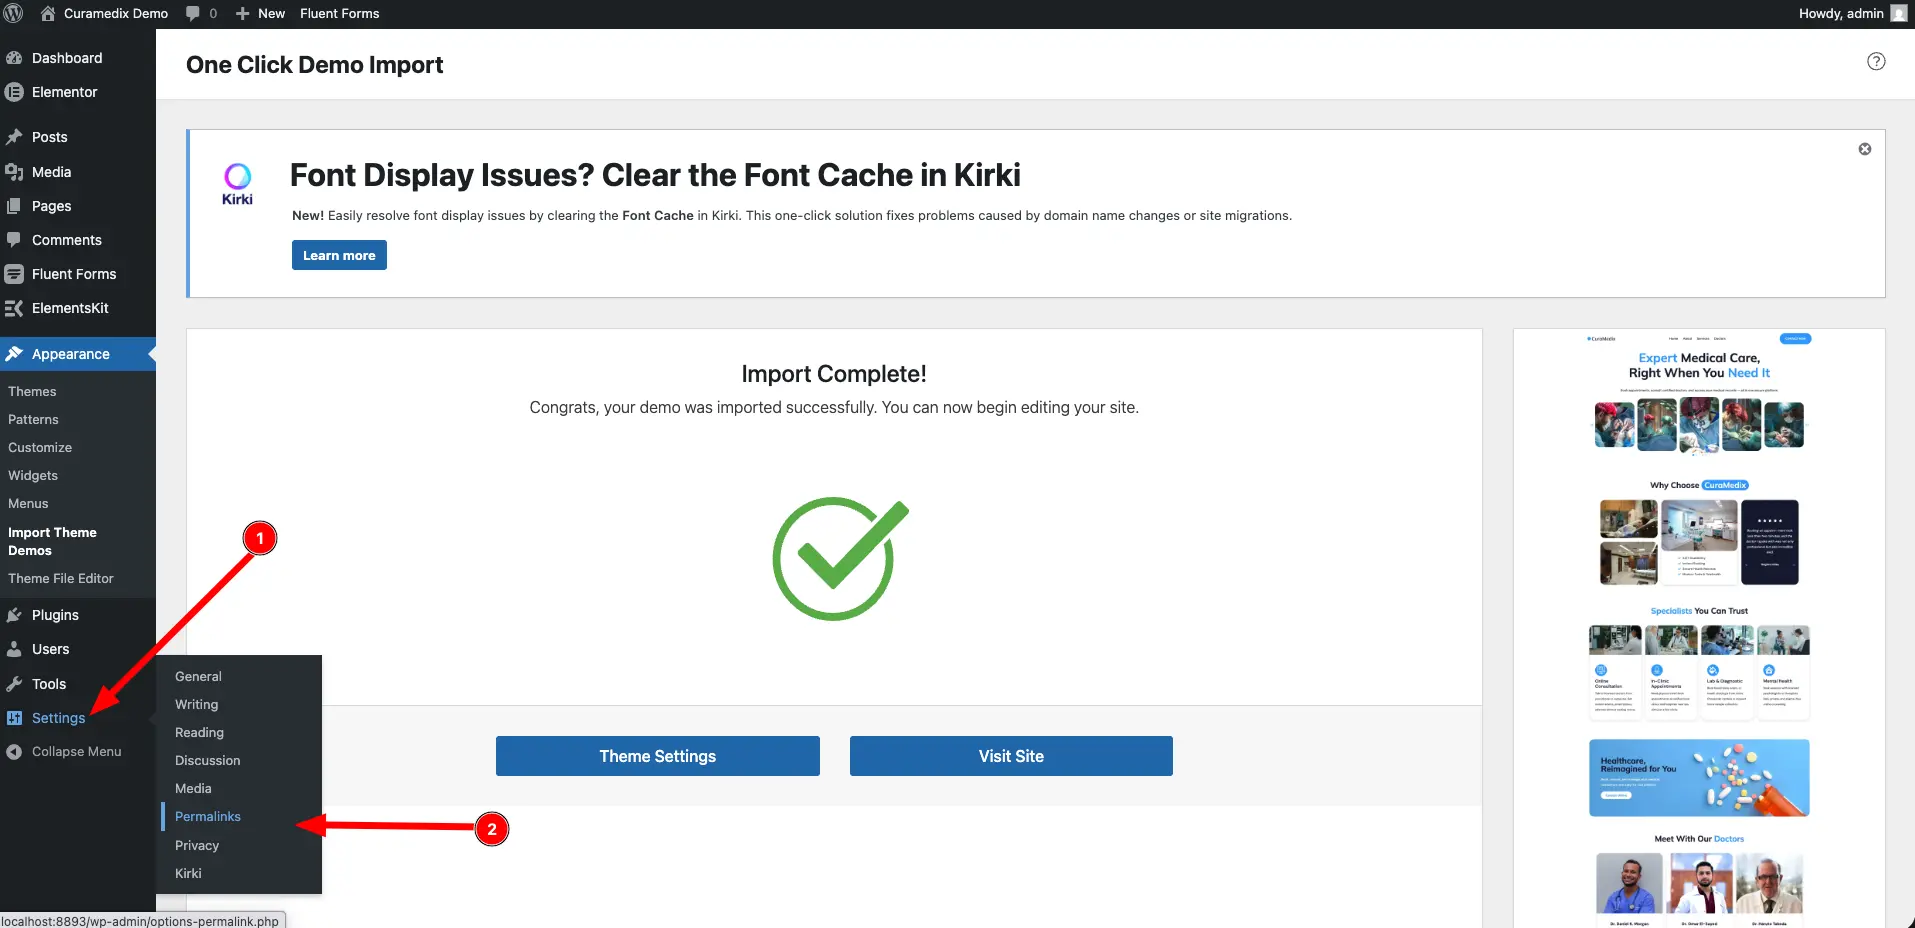
- After the import is complete, you will see a success message.
07 — Setup
Change Settings
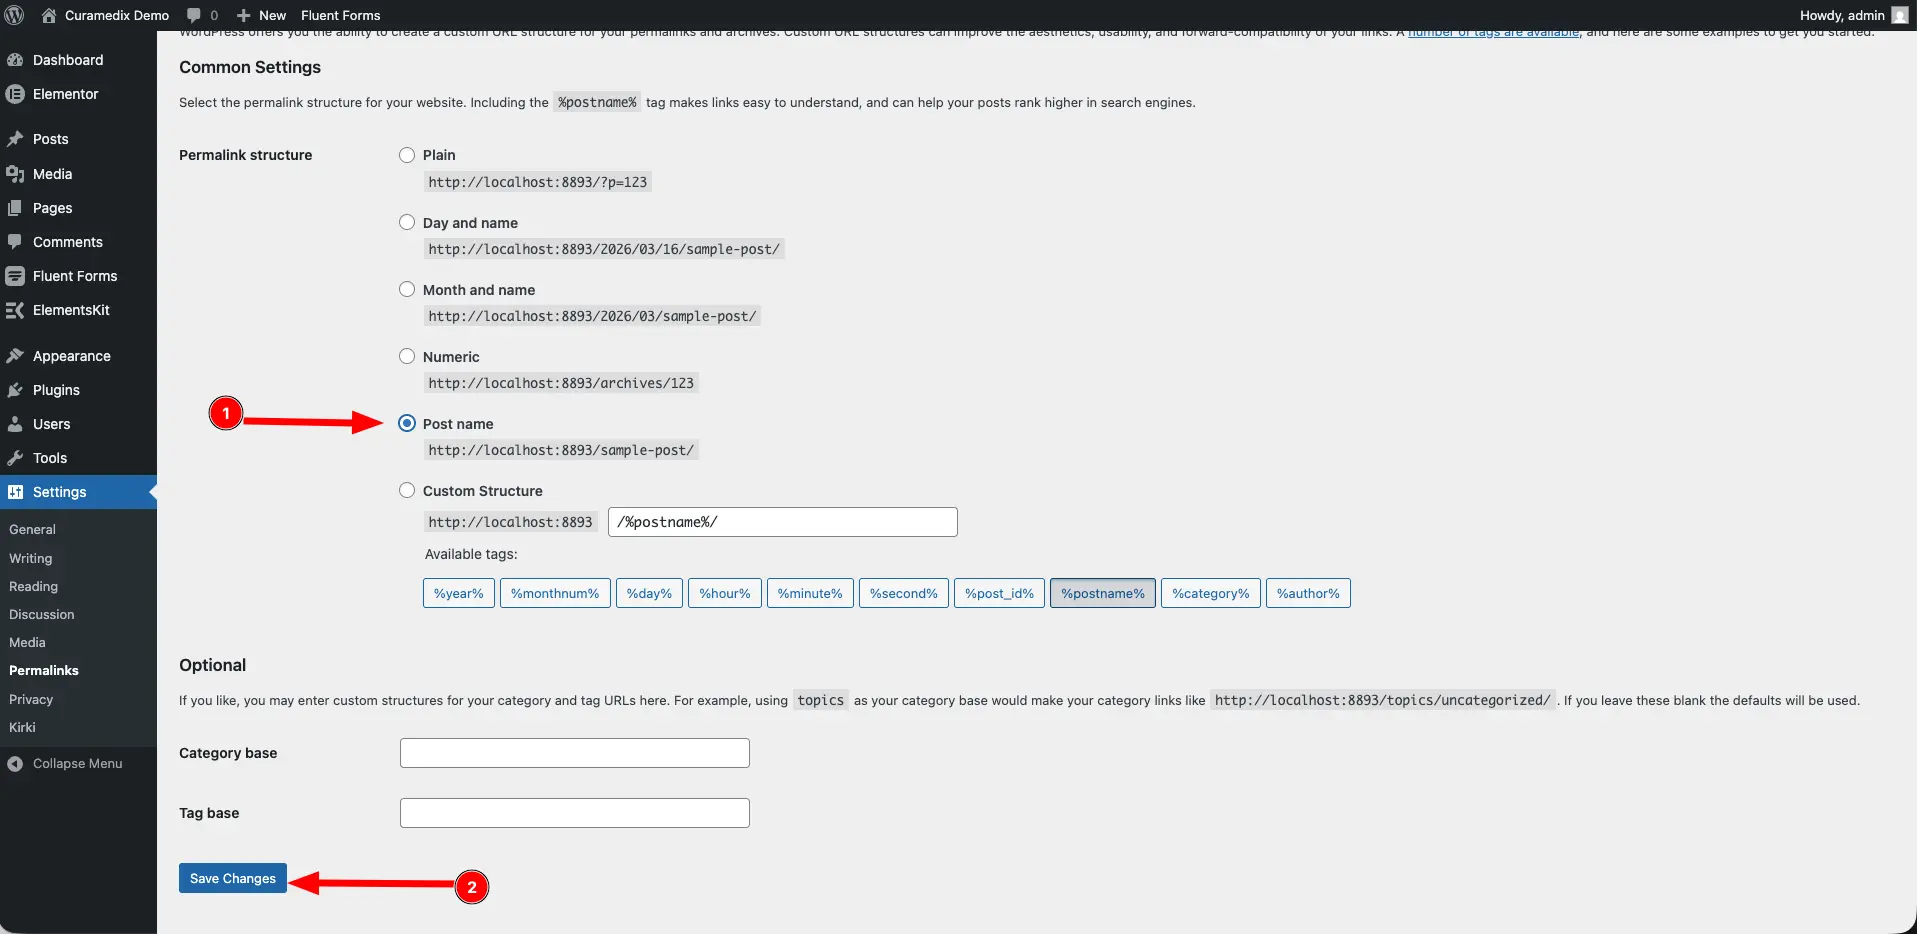
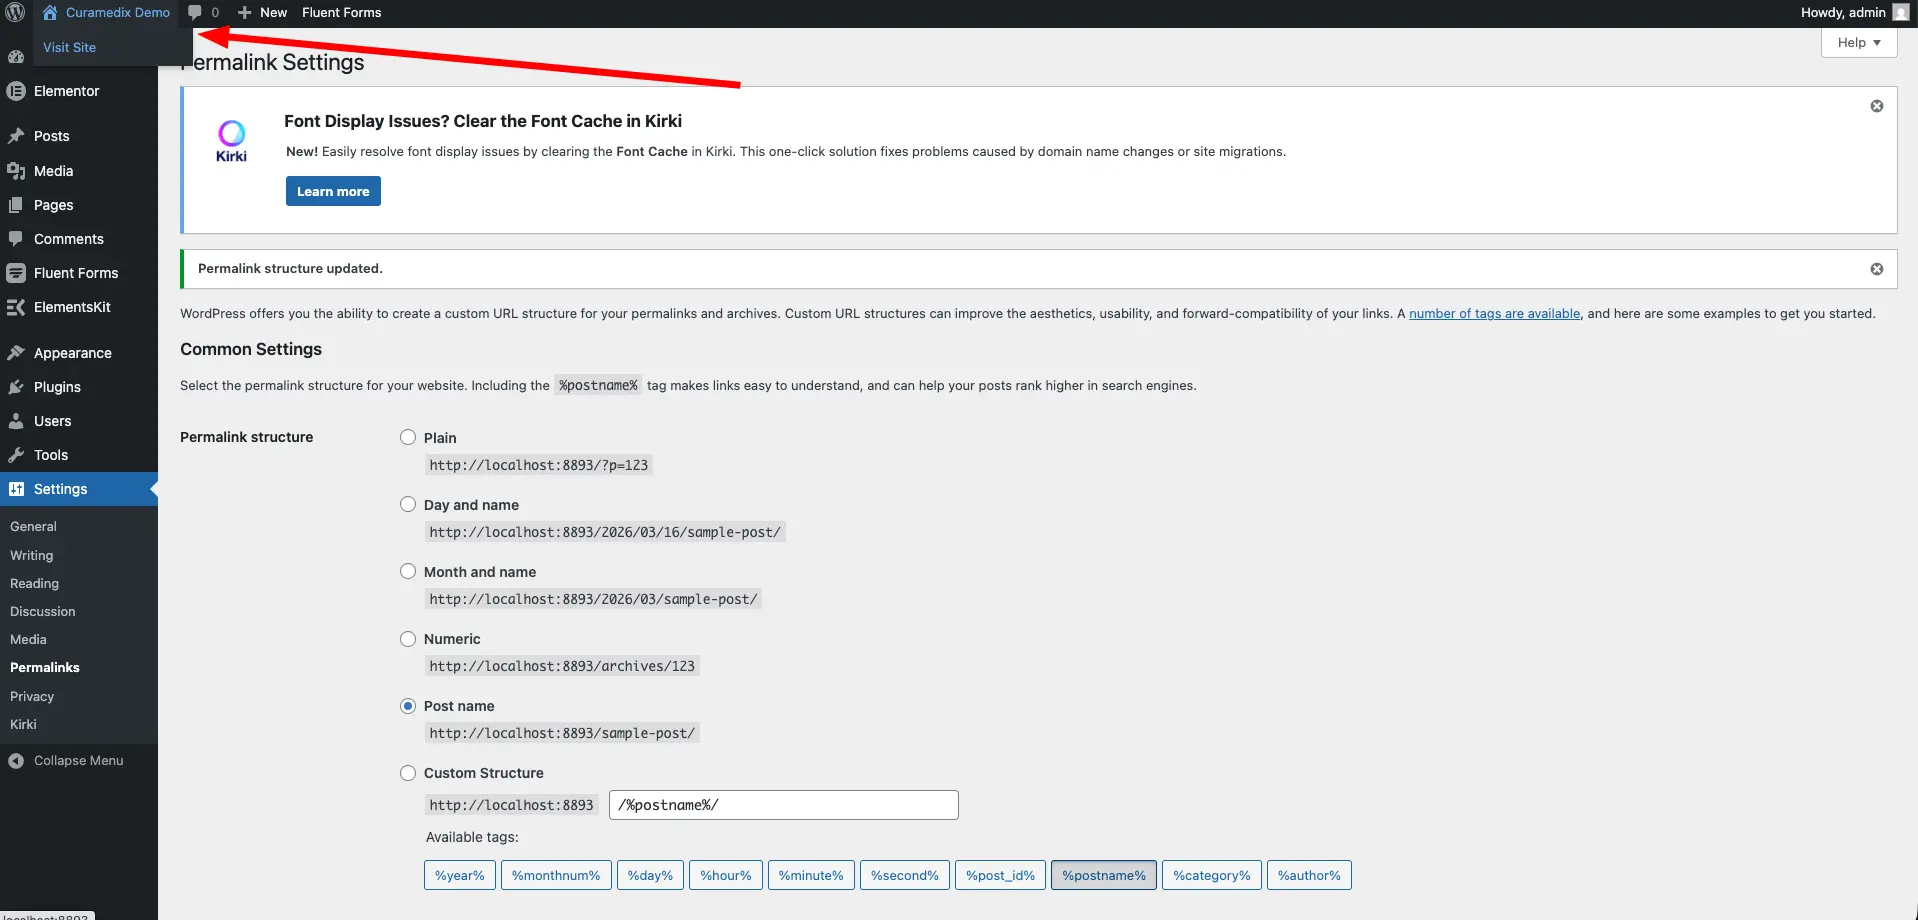
- Go to Settings → Permalinks in your WordPress dashboard. You will see the permalink settings page.
- Select the "Post name" option and click "Save Changes" to update your permalink structure.